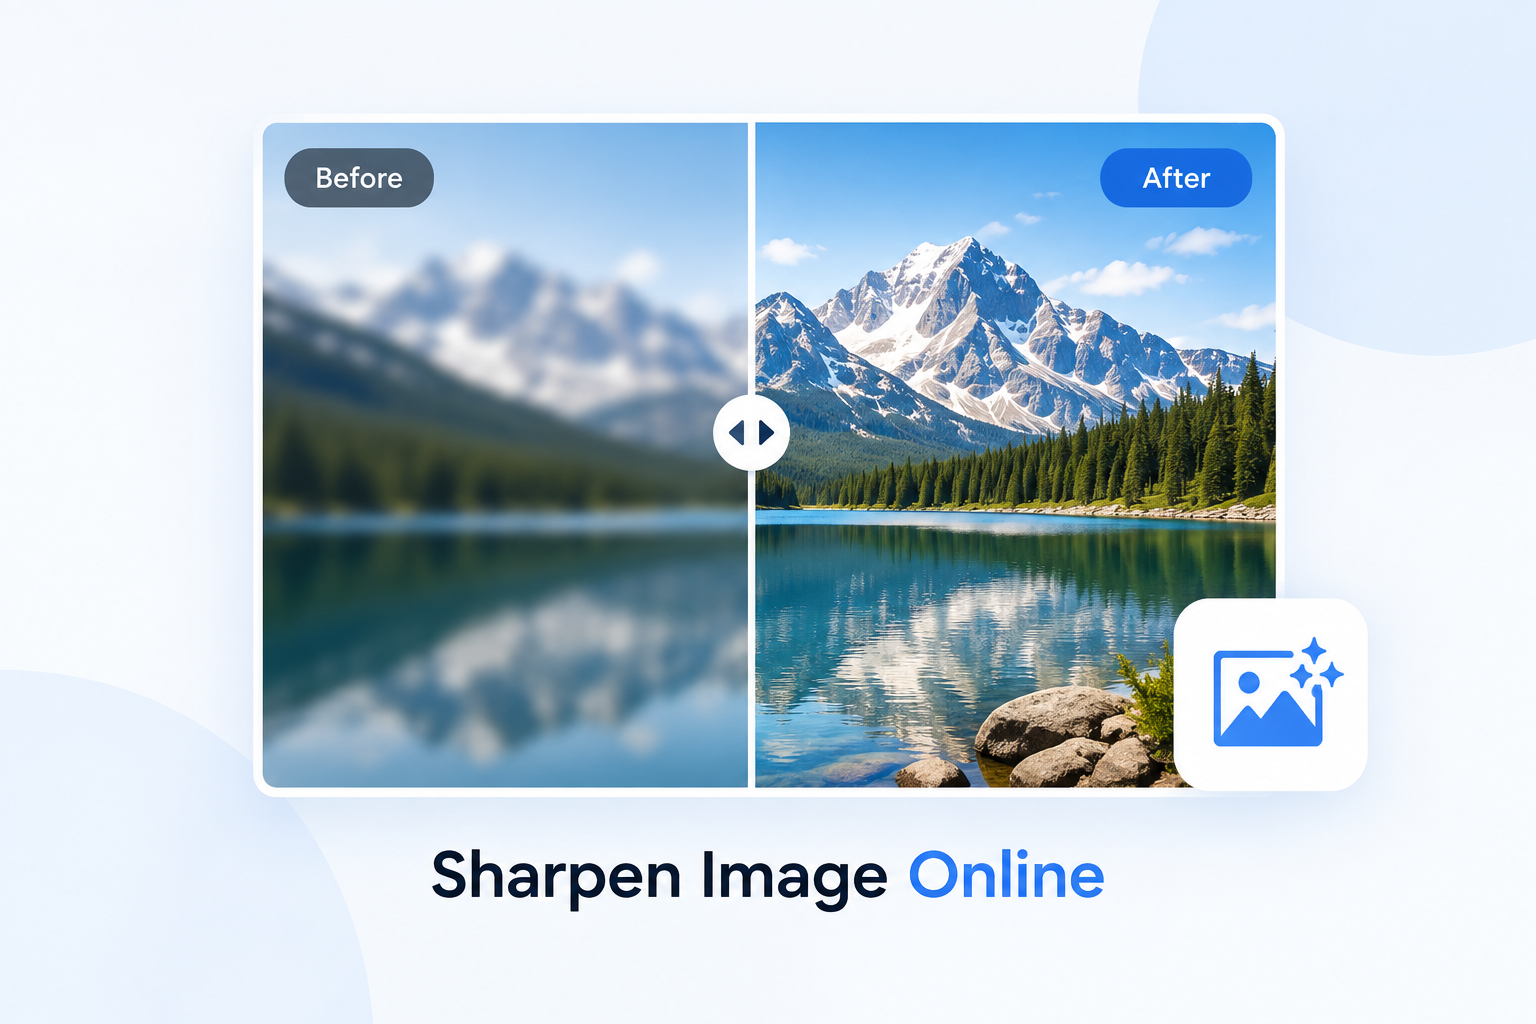
Sharpen Image Online: How to Make Blurry Photos Clearer
September 15, 2026•14 min read•ToolsCrush
Sharpen Image Online: How to Make Blurry Photos Clearer
Sharpen image online to improve the appearance of soft, slightly blurry, or low-detail photos without installing complicated photo-editing software. Image sharpening can make edges look more defined, bring out existing details, and give a photo a cleaner and more polished appearance.
Whether you’re preparing product photos, improving screenshots, enhancing social media images, cleaning up scanned documents, or making everyday photographs look clearer, the right amount of sharpening can make a noticeable difference.
ToolsCrush provides a browser-based Sharpen Image tool that lets you upload JPG, PNG, or WebP images, adjust sharpening intensity, preview the result, and download the enhanced image.
Quick answer: To sharpen an image online, upload your photo to an image sharpening tool, adjust the sharpening intensity gradually, preview the result, and download the version that looks clear without excessive noise or artificial edges.
Sharpen image online to make blurry photos clearer
Sharpen Image Online with ToolsCrush
If you need a quick way to sharpen image online, ToolsCrush provides a simple workflow designed for everyday image enhancement.
The process is straightforward:
Upload your JPG, PNG, or WebP image.
Adjust the sharpening intensity.
Preview the sharpened image.
Compare the result with the original.
Download the enhanced image.
The ToolsCrush Sharpen Image tool provides an adjustable intensity control, allowing you to choose between subtle and stronger sharpening instead of applying the same effect to every photograph.
Try the Sharpen Image tool and improve your photo clarity directly in your browser.
What Does Image Sharpening Do?
Image sharpening is a digital image-processing technique that makes details and edges appear more defined.
When an image looks soft, sharpening increases local contrast around existing edges. This can make objects, text, textures, and boundaries appear clearer.
For example, sharpening may make:
Text in a screenshot easier to distinguish
Product edges look more defined
Architectural details stand out
Landscape textures appear clearer
Slightly soft photographs look more polished
Scanned documents appear crisper
However, sharpening does not recreate information that was never captured in the original image.
If a photograph is severely out of focus, sharpening cannot magically recover the missing detail. Adobe also explains that sharpening enhances existing in-focus detail rather than bringing an unfocused area back into focus.
How to Sharpen an Image Online
You don’t need Photoshop or another desktop application for basic image sharpening.
Step 1: Choose your image
Start with the original image whenever possible. A higher-quality source generally gives you more useful detail to work with.
ToolsCrush supports common image formats including:
JPG
PNG
WebP
Step 2: Upload the image
Open the ToolsCrush Sharpen Image tool and add your image.
The browser-based workflow is designed to keep the process simple, with no complicated editing interface required.
Step 3: Adjust sharpening intensity
Start with a moderate setting rather than immediately choosing the strongest sharpening level.
For subtle enhancement, a lower intensity can produce a more natural result. ToolsCrush recommends starting around intensity 3–5 for subtle enhancement, while stronger settings can be useful for particularly soft images.
Step 4: Preview the result
Always compare the sharpened version with the original.
Look closely at:
Edges
Facial details
Text
Fine textures
Background areas
Noise and grain
Step 5: Download the sharpened image
Once the result looks natural, download the enhanced image and use it for your intended purpose.
How Much Should You Sharpen an Image?
There is no single sharpening setting that works for every image.
The ideal amount depends on:
Image resolution
Camera quality
Subject
Existing noise
Compression artifacts
Lighting
Intended viewing size
Whether the image is a portrait, product photo, landscape, or screenshot
A useful approach is to begin with subtle sharpening and increase the intensity gradually.
Recommended Starting Points
Intensity 2–4:
Good for portraits, faces, and images where you want a subtle improvement.
Intensity 3–5:
A good starting range for general-purpose photographs.
Intensity 7–10:
May be useful for images that are noticeably soft, but inspect the result carefully for noise and artificial edges.
The goal isn’t to make an image look extremely sharp. The goal is to make it look clearer without looking overprocessed.
Sharpen Image Without Making It Look Artificial
One of the most common mistakes is applying too much sharpening.
Over-sharpening can create:
Bright or dark halos around edges
Excessive noise
Grainy skin
Harsh facial details
Jagged text
Artificial-looking textures
Strong outlines around objects
Adobe’s explanation of the Unsharp Mask technique shows why this happens: sharpening increases contrast around image edges, and excessive settings can produce visible halos.
A good rule is:
If you can immediately notice the sharpening effect before noticing the actual subject, you’ve probably gone too far.
Zoom out and view the entire image after checking details at a closer level. A sharpening effect that looks impressive at extreme zoom may look unnatural at normal viewing size.
Sharpen Blurry Images: What You Can and Cannot Fix
It’s important to understand the difference between a soft image and a severely blurry image.
Slightly Soft Image
A slightly soft image often responds well to sharpening.
For example:
A photo with mildly soft edges
A resized image
A compressed image
A screenshot that needs more definition
A product photo that looks slightly flat
Sharpening can improve the perceived clarity of these images.
Severely Out-of-Focus Image
Sharpening has limitations.
If the camera failed to focus on the subject, the original image may not contain enough useful detail to recover. Sharpening can increase edge contrast, but it cannot recreate missing photographic information.
Adobe similarly notes that sharpening doesn’t actually bring unfocused areas back into focus.
This distinction is important because sharpening is enhancement, not true blur recovery.
How Image Sharpening Works
At a technical level, sharpening is an image-processing operation.
A sharpening filter examines pixels in relation to neighboring pixels. Where there are meaningful differences between adjacent pixels, the algorithm can increase local contrast to make edges appear more pronounced.
ToolsCrush describes its sharpening process in terms of a convolution kernel applied to pixel data.
One common technique used in professional image editing is called Unsharp Mask.
Despite its name, Unsharp Mask is a sharpening method rather than a blur effect.
Adobe explains that Unsharp Mask works by increasing contrast around edges, creating the perception of greater detail.
This is why sharpening can make an image look clearer without actually adding new photographic information.
Image sharpening increases the perceived definition of edges and details by modifying local contrast. Different sharpening methods can produce different results, so understanding the effect of sharpening intensity is important. For a deeper technical explanation, see Adobe’s guide on how image sharpening works.
Sharpening vs Increasing Image Resolution
Sharpening and upscaling are different processes.
Image Sharpening
Sharpening improves the appearance of existing details by increasing local edge contrast.
Image Upscaling
Upscaling increases the dimensions of an image—for example, changing a 1000 × 1000 image into a larger image.
Image Enhancement
Enhancement is a broader term that can include:
Sharpening
Noise reduction
Brightness adjustment
Contrast adjustment
Color correction
Upscaling
Exposure correction
If your image is already large enough but looks slightly soft, sharpening may be all you need.
If the image is both small and soft, you may need resizing or upscaling in addition to sharpening.
Sharpening and image resizing are different processes. Sharpening improves the appearance of existing details, while resizing changes the dimensions of an image. Different image formats can also behave differently depending on how they store and compress visual information. See this guide to modern image formats for more information.
Sharpen Image for Different Types of Photos
Different images require different sharpening approaches.
1. Portrait Photos
Use relatively subtle sharpening for portraits.
Excessive sharpening can emphasize:
Skin texture
Fine lines
Facial imperfections
Noise
A lower intensity often produces a more natural result.
2. Product Photos
Product images can often benefit from stronger sharpening because defined edges help products appear more detailed.
Sharpen:
Product edges
Labels
Text
Fine textures
Packaging details
Be careful not to create artificial outlines around the product.
3. Landscapes
Landscapes often contain naturally detailed elements such as:
Rocks
Trees
Buildings
Mountains
Leaves
Architectural structures
Moderate sharpening can make these textures more noticeable.
4. Screenshots
Screenshots containing text can sometimes benefit from subtle sharpening.
However, avoid excessive sharpening because it may create rough or jagged-looking characters.
5. Scanned Documents
Sharpening can sometimes improve the apparent clarity of scanned text or document images.
For important documents, however, keep the original file and compare the enhanced version carefully before using it for submission.
6. Social Media Images
Social platforms may resize and recompress uploaded images.
A carefully sharpened source image can sometimes retain better perceived definition after resizing, although excessive sharpening can make compression artifacts more visible.
Sharpen Image Before or After Resizing?
After sharpening your image, you may also want to resize an image for websites, social media, applications, or other platforms.
The order can matter.
If you resize an image significantly, the resizing process can change the appearance of fine details. In many image workflows, sharpening is therefore applied after the final resizing step.
For example:
Original image → Resize → Final sharpening → Export
This approach allows you to evaluate sharpness at the final dimensions.
Adobe’s image-processing documentation also discusses sharpening in relation to resized/downsampled images and provides controls for sharpening intensity and radius.
For simple everyday editing, however, the most important thing is to preview the final image at its intended size.
Why Does Sharpening Make an Image Look Better?
Human vision responds strongly to edges and local contrast.
When the contrast around an edge is increased, that edge can appear more distinct.
For example, consider the boundary between:
A black object and a white background
A product and its background
Text and a page
A building and the sky
Sharpening can make those boundaries appear more defined.
The result is a perception of increased clarity, even though the underlying photograph has not gained new information.
This is why sharpening is often used as one of the final steps in a photo-editing workflow.
Sharpening vs Blur Removal
These terms are often used interchangeably, but they aren’t the same.
Sharpening improves the appearance of existing edges.
Blur removal attempts to recover detail affected by motion blur, focus problems, or other forms of image degradation.
A basic sharpening filter is most effective when the image is already reasonably focused but lacks crispness.
If the image has significant motion blur or severe focus problems, a basic online sharpener may have limited results.
How to Get Better Sharpening Results
If the sharpened image is still too large to upload or share, you can compress the image to reduce its file size.
Follow these practical tips:
Use the Original Image
Start with the highest-quality version available.
Avoid repeatedly editing and exporting the same JPEG because repeated compression can introduce artifacts.
Don’t Start at Maximum Intensity
Start low and increase the effect gradually.
Preview at Normal Size
Don’t judge the result only while zoomed in.
Watch for Noise
Sharpening can emphasize noise and compression artifacts.
Be Careful with Faces
Portraits usually look better with subtle sharpening.
Preserve the Original
Always keep an unedited copy of important photographs.
Sharpen After Major Resizing
If you are resizing an image for a specific output size, evaluate sharpening after the final resize.
Can You Sharpen a JPG Online?
Yes.
JPG images can be sharpened online using browser-based image tools.
JPG is widely used for photographs because it provides relatively small file sizes, but compression can also introduce artifacts. Sharpening may improve perceived edge definition, but it can also make compression artifacts more visible.
For best results, use the original JPG whenever possible.
Can You Sharpen a PNG Online?
Yes.
PNG images can also be sharpened.
PNG is commonly used for:
Screenshots
Graphics
Logos
Illustrations
Images containing text
Because PNG often preserves image information differently from JPEG, the ideal sharpening approach can vary depending on the source.
Can You Sharpen a WebP Image?
Yes.
WebP is a modern image format commonly used on websites because it can provide efficient compression.
If a WebP image looks soft, sharpening can improve the perceived definition of existing edges.
However, as with JPG and PNG, sharpening cannot recreate details that were lost before the WebP image was created.
Sharpen Image Online on Mobile
If you need to turn your enhanced photos into a document, use the JPG to PDF converter to combine images into a PDF.
You don’t necessarily need a desktop application to sharpen a photo.
A browser-based image sharpener can be useful when working from:
This can be especially useful when you need to improve a photo quickly before posting, sharing, submitting, or uploading it.
Is Online Image Sharpening Safe?
Privacy depends on how a particular image tool processes uploaded files.
For sensitive images, it is useful to understand whether the tool sends files to a remote server or processes them locally.
ToolsCrush states that its tools are designed for client-side processing where the browser can handle the task, meaning the processing can take place on the user’s device rather than requiring a remote upload.
For sensitive or confidential images, always check the privacy and processing model of the tool you choose.
Sharpen Image Online with ToolsCrush
If you want a simple way to sharpen image online, ToolsCrush provides a focused workflow without requiring a complicated photo editor.
You can:
Upload JPG, PNG, or WebP
Adjust sharpening intensity
Preview the result
Download the sharpened image
Work directly from a browser
Use the tool on desktop or mobile
The tool is particularly useful when you need a quick clarity improvement rather than a full photo-editing workflow.
ToolsCrush provides additional browser-based image and document utilities for these workflows.
Frequently Asked Questions
Can I sharpen an image online for free?
Yes. Browser-based image sharpening tools can enhance the appearance of photos without requiring traditional desktop editing software.
Does sharpening make a blurry image clear?
Sharpening can make a slightly soft image appear clearer, but it cannot fully restore detail that was never captured. Severe focus or motion blur may require more advanced restoration techniques.
How do I sharpen a photo without making it look bad?
Start with a low sharpening intensity, preview the image, and gradually increase the effect. Stop when edges look clearer but natural.
What is the best sharpening intensity?
There is no universal setting. Portraits generally benefit from lower sharpening, while architecture, landscapes, and defined objects can often tolerate stronger sharpening.
Can sharpening increase image noise?
Yes. Sharpening can make existing noise and compression artifacts more noticeable, especially when applied too strongly.
Yes. A responsive browser-based image sharpening tool can be used on modern smartphones and tablets.
Does sharpening increase image resolution?
No. Sharpening and upscaling are different. Sharpening improves the appearance of existing details, while upscaling increases image dimensions.
What is Unsharp Mask?
Unsharp Mask is a common sharpening technique that increases local contrast around edges to make details appear more defined. Adobe provides detailed documentation on how Amount, Radius, and Threshold affect the sharpening process.
Final Thoughts
Sharpen image online when a photo already contains useful detail but looks slightly soft or lacks definition. The key is to use sharpening as an enhancement rather than expecting it to recover information that was never captured.
For natural-looking results, start with a moderate intensity, preview the image carefully, watch for noise and halos, and keep the original file as a backup.
For quick everyday image enhancement, the ToolsCrush Sharpen Image tool provides a simple browser-based workflow for JPG, PNG, and WebP images.
Upload your image, adjust the sharpening intensity, preview the result, and download a clearer version.